Wednesday, May 27, 2009

Steinway A-Rim Cleaning


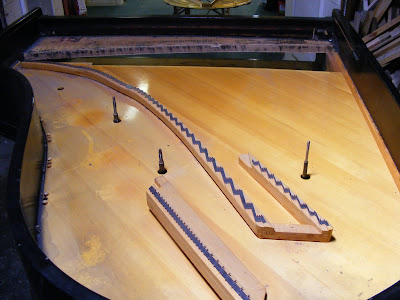
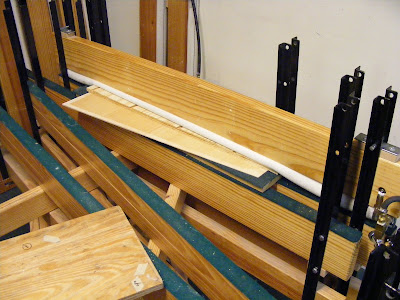
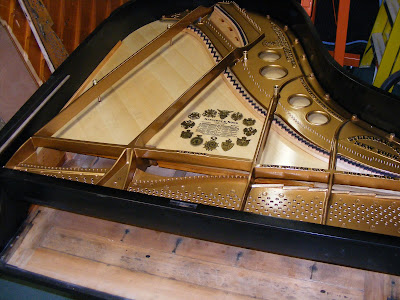
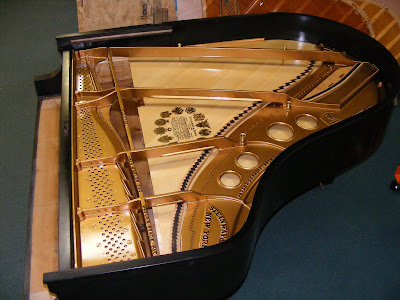
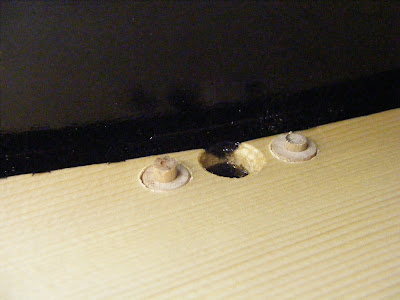
After the soundboard is "broken" out of the piano, the rim must be cleaned to remove glue and soundboard residue. The first job is to remove as much of the spruce wood fiber as possible without damaging or nicking the rim. This is done with a very sharp chisel. Next, the old glue residue must be removed. This is done by soaking the rim with a solution of wall paper remover and water. The rim is wet down several times and left to soak for about 30 minutes. As the glue softens, it can be scraped off the hard maple rim fairly easily, but care must still be taken not to gouge the rim. Finally the rim is wiped with a soft cloth to soak up any lingering water and loose reside. If per chance the previous sound board installer did not use a water soluble glue, that task is much more difficult, requiring the use of abrasives. In this case, the soundboard was installed about 25 years ago in an unknown rebuilder's shop. It appears that they used a white glue, which does soften when soaked in water. The ideal glue for gluing the soundboard to the rim is hide glue, because it is very easy to remove when soaked in water, but is extremely hard when dry.
Monday, May 25, 2009

Harp Pillar and Neck United


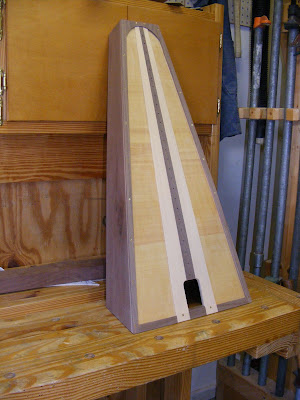
I've taken advantage of the holiday to spend some time working on my harp project. At the end of last week I glued the top to the sound chamber. Today, I fist dry fitted the neck and pillar to the sound chamber. Upon doing so, I realized that my string speaking length was about 3/8" to long, so I made the necessary adjustments to get the length to spec. I accomplished this by cutting the neck deeper where it attaches to the sound chamber, and also by shortening the pillar. While this was happening, I have been spraying lacquer on the sound chamber. Today I also ordered a round embossed applique to place on the neck. Finally, I glued a build up on the end of the neck that rests on the top of the sound chamber.It's starting to look like a harp!

Friday, May 22, 2009

Steinway A Case Stripped


Removing finish from a piano case has to be the worst job related to piano rebuilding. This old Steinway was refinished about 25 years ago, and was in bad shape because of some rough treatment in a school. I think the former refinisher figured you could hid a lot of defects with a lot of lacquer. And this case has LOTS of lacquer. It was one of the most difficult cases that I have stripped. What I found underneath was disappointing. Most of the veneer on the top of the rim and the cheeks was removed and not replaced, and corners were rounded excessively. Add to this the damage done at the school, and you have a project that is going to take a lot of veneer and case work to prepare it for the new finish. Because of it's age and the condition of the case parts, I plan to replace the legs, lyre, lid, music desk and key slip. These parts are available through Steinway or Vintage Case Parts.

Wednesday, May 20, 2009

Steinway A I Tear Down


The project that I had hoped to be working on this week has been postponed a few weeks, so I decided to tear down my Steinway A spec piano. This piano was rebuilt about 25 years ago to standards that were lower than the standard that I keep. So I will probably replace the soundboard, bridge caps and pinblock. None of these are extremely bad, but the piano did not perform at it's potential. Also there is a lot of case repairs that need to be done. So measurements were taken, and the strings were removed, along with the tuning pins and plate. I will work on repairing the damaged case next.

Tuesday, May 19, 2009

Harp Pillar and Neck.


Neck being veneered


NECK and PILLAR with patterns

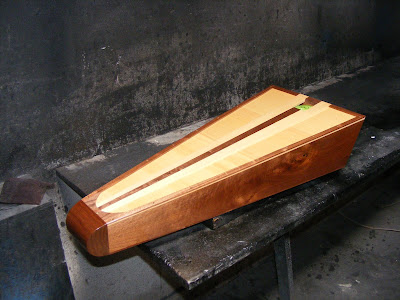
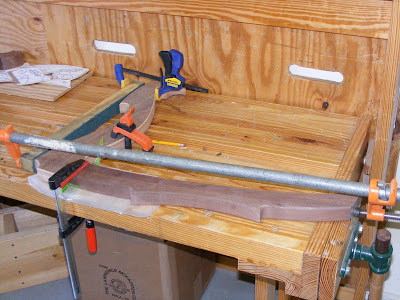
Since I am still between piano rebuilding jobs, I continue to make good progress on my harp project. Using my patterns, I cut the pieces for the neck and the pillar. since the neck will receive the tuning pins and the guide pins,and possibly in the future sharping levers, I chose to us delignet piano pinblock material for it's construction. This is probably a little bit of overkill, but I happened to have a scrap around that wasn't big enough for a piano, but was big enough for a harp. I veneered the sides of the neck with walnut veneer, but plan to let the edges exposed. This will make a nice color contrast, and I think the multi layers of beech wood in delignet looks cool. The pillar is constructed from a piece of walnut that is about 1 5/8" thick. I have also cut out the top for the sound chamber where the neck will rest. It will soon look like a harp!

Saturday, May 16, 2009

Puppet shows


This has been a busy weekend with two puppet shows. On Thursday evening we attended our grandson's preschool graduation. I was honored to be asked to do a puppet show for the event. The skit was entitled "I don't know my ABC's, and was a lot of fun presenting to the preschool age kids present and their families. This morning I did a 40 minute presentation at Camp Hebron for the children of Slate hill Mennonite Church at their annual family retreat weekend. This went well and was a great group of kids. I'm glad for these opportunities to preform and to sharpen my venting skills.

Thursday, May 14, 2009

Puppets- Back Stage


I spent a portion of the day dress rehearsing for this weekends programs. Backstage in puppetland is rather amusing. I need to keep all my puppets handy, but out of sight. Tonight I will be doing a short program for McBIC's Preschool Graduation, and on Saturday I will be performing at Camp Hebron for a group of children. I would appreciate your prayers!

Wednesday, May 13, 2009

Harp Soundboard Glued To Sound Box


Completed sound box.
When I was ready to glue the soundboard to the sound box, I intended to use my pneumatic press. The box is too thick for my press, so I needed to use bar clamps. I still used the pneumatic press for a base for clamping up the soundboard. Note that the soundboard loner also has brass screws securing it to the box. This assures me that the soundboard will not come off the box when the harp is under tension.

Tuesday, May 12, 2009

Harp Soundboard Trim

Trim piece being glued on top side of board.


The underside of the soundboard and reinforcement bar coated with lacquer.


After gluing the reinforcement bars in place, the final step on the soundboard was to install trim pieces on the edges of the board. These serve two purposes. One is cosmetic. I used walnut for the trim pieces because it is a pretty contrast in color to the spruce. Secondly, the trim pieces are similar to the bind bar in the piano. The glue surface is narrow, and the trim pieces add strength and a reflective quality to the edge of the soundboard. Screws will also be used to secure the soundboard to the sound box.

Monday, May 11, 2009

Harp Soundboard Reinforcement Bars


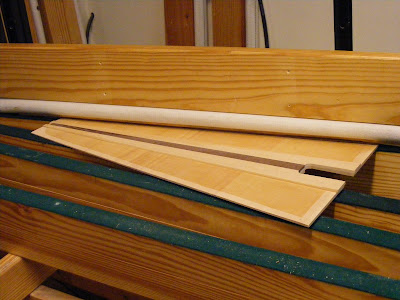
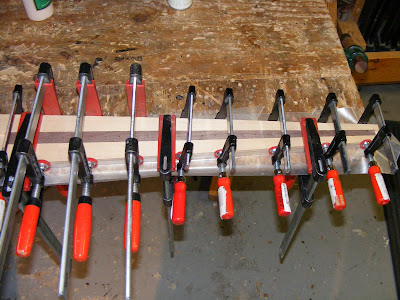
Since my harp soundboard is made of solid spruce, it will require some reinforcing bars. I have added two, one on top and one on the underside of the harp. The underside bar of maple, and is tapered in width as well as in thickness, being the thickest and widest at the bottom. The top is an exact match, but is made of walnut for cosmetic purposes. One of my innovations (this is not customary harp building) was to attach two spruce ribs to the top reinforcing bar. This is a take off from my piano soundboard building. Note that on a piano the ribs are on the under side, while on the harp, I placed them on the top side. This is because on a piano the pressure of the string are pushing down, but on the harp, the pressure of the strings are pulling up. The purpose of the ribs is to produce an internal stress on the soundboard that in turn produces a slight crown. The theory is that this enhances the sound produced by the board. It works in pianos. We'll see if it works in harps. The first photo is gluing the ribs to the top reinforcing bar. The second is gluing the reinforcement bars to the soundboard in my piano soundboard press. Note that the soundboard was dried to 5.5% EMC before the reinforcement bars were glued. This is an important matter that is often overlooked, as the soundboard does change dimensionally as the wood dries (more piano influence on my harp).

Sunday, May 10, 2009

Mothers Day 2009


Rosanna and I had the delight of being at our daughters house for the noon meal on Mothers Day. Our two daughters were there with their families. It is always a delight to be together. It was a beautiful day to take a few pictures outside by some beautiful flowers. Our son in Michigan sent Rosanna a beautiful bouquet of flowers. Thanks to you all for making mom feel special on her special day.

Friday, May 8, 2009

Steinway O Completed


The Steinway O project is completed and is being picked up by it's owner tomorrow. The final step in the process was to put glue on the suspension dowels, and to reinstall the plate for the final time. All the perimeter bolts and plate screws were then carefully installed being careful not to mar the finish. A final check and touch up of any flaking paint where the screws were installed completed the plate installation. The final task was to reinstall the music desk slides that were removed to allow clearance for the plate to pass when removed. The owner will do the string installation and action work.

Wednesday, May 6, 2009

Steinway O Plate Suspension Dowels


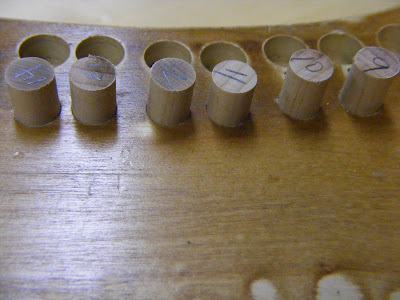
On most pianos , especially quality grand pianos, the plate is suspended above the soundboard on "acoustic" dowels. The theory is that by being suspended in this way, the plate does not hinder the movement of the soundboard, although the movement at this location is very limited because this is directly above the rim where the soundboard is glued. Since the dowels are located under the plate at the perimeter of the soundboard, it is difficult to set their height. Here is how I accomplish this feat easily and accurately. First I drill the holes in the rim that will receive the dowels. The I insert a "dummy" dowel (no it doesn't talk) with a hole drilled in the center. A smaller dowel is inserted in the hole. It is dimensioned so that the inner dowel is tight, but still movable in the outer dowel. The center dowels are left high. The the plate is set in the piano, resting on the pinblock and the rear plate suspension bolt. The weight of the plate pushed the center dowel into the outer dowel, and stops at the proper height. The "dummy dowels are numbered and removed. Their length is measured with a caliper, and recorded. Then I simply cut and sand the real dowels to the same length. Now all I need to do is insert the support dowels in the holes with glue, and they will fit perfectly. On this piano there are 24 dowels.

Tuesday, May 5, 2009

Steinway O Drilling Pinblock


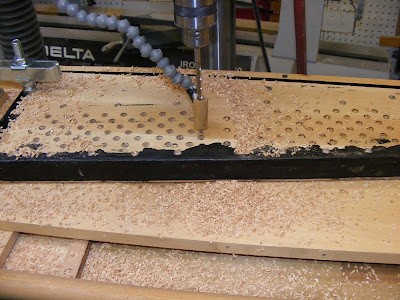
One of the last tasks before reinstalling the plate for the final time is to drill the pinblock. I constructed a sled a number of years ago that allows me to position the pinblock for drilling. I drill the block at a 3 degree angle. My drill press table tilts, so setting this is very easy. Also, I use a chiller to keep the bit cool, which give consistency to the holes I am drill, as well as adds longevity to the drill bit.

Monday, May 4, 2009

Steinway O Board Top Finished


After the molding are glued and the front is trimmed and sanded, we are ready for the final finish on the board top. The bridges are masked, as well as the sides and front of the case. Roughly 10 coats of lacquer are applied, until a nice build is achieved. Also note that a sound board decal is installed. This is applied on top of the schellac sealer, and covered with the applied lacquer. On this piano I am spraying the inside rim black as the piano is being refinished(by another refinisher), and this is done more easily while the plate is out.

Friday, May 1, 2009

Steinway O Plate Finished


Cleaning up and refinishing the cast iron plate adds nothing to the sound of the rebuild job, but it is the most prominent visual aspect of the rebuild job. I strive to get a great looking finish, but don't go overboard. The process in begun by cleaning the plate with scotch-brite pads and paint thinner. Note that I also sand the pressure bars to clean them and remove the groves left by the old strings.I blow the excess paint thinner off with compressed air. When the plate is dry, it is cleaned with a tack rag and sealed with a schellac seal coat. After this is dry I use a mixture of clear lacquer and bronzing powder to color the plate. When this is dry, the plate is lettered by hand, and the serial number is put on with transfer numbers. A final clear coat of lacquer gives the plate a slight wet look when dry. Note that the agraffes are removed and that I mask the pressure bars.